Enable Netgear Orbi 960 Firmware Update on Auto Mode
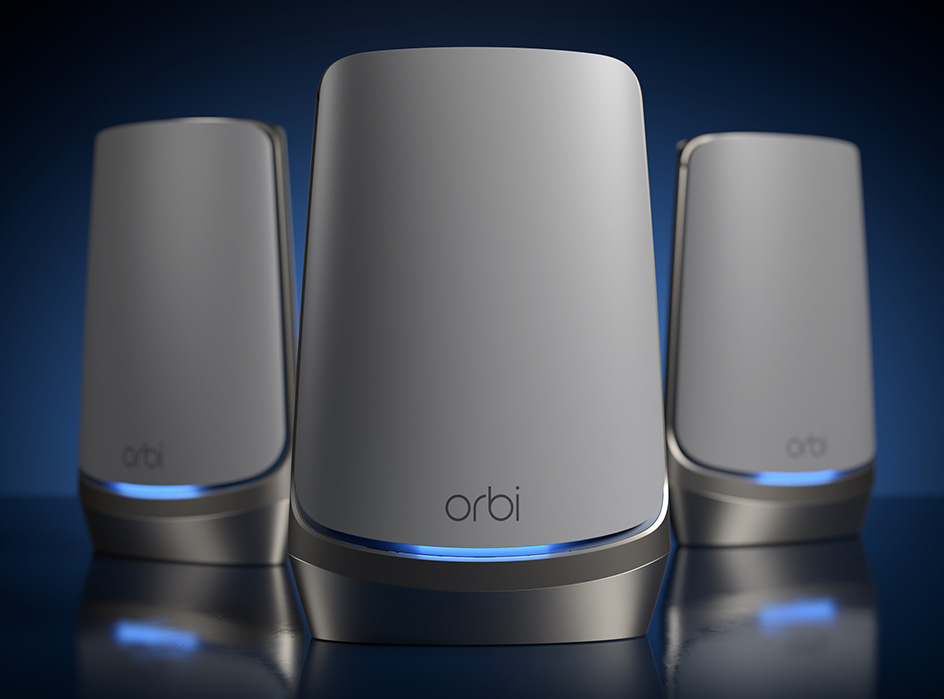
Netgear Orbi 960 is an outstanding networking device. Millions of people use this device nowadays and enjoy the high-speed internet and the best performance. If you also want that kind of networking device for your home network then Orbi 960 is the best option for you.
However, today, in this article we are going to tell you about the steps to set the Netgear Orbi 960 device on auto firmware update mode so that your Orbi system updates automatically and gives the best outcomes. If you are not aware of the steps then you don’t need to worry. You just need to go through the outlined passages where we elaborate on everything about it.
First, you need to prepare some important requirements that you need during the process. Preparing all the things before the procedure assists you to get a successful process.
Important Requirements
- A good internet connection from ISP
- Fluctuation-free power supply.
- Quality Ethernet cable.
- Default credentials of your Orbi system.
- Note down the default web address of Orbi 960.
- Computer or laptop.
Hence, these are the necessities that you need to prepare just before the procedure. Now, move forwards toward the important steps.
Step to Enable Orbi 960 Auto Firmware Update
Now, we are going to tell you about the steps to enable auto firmware update on Orbi 960. All the steps are explained in detail; you just need to walk through them and follow them as mentioned. So, let’s start!
Power On the Orbi System
The foremost thing you need to do is power the Orbi system. To do this, you need to plug the Orbi system into the power socket. You need to use the non-damaged wall outlet so that Orbi gets a sufficient power supply from the power source.
Once you plug in the Orbi router, press the turn-on button.
Connect the Router and Modem
Internet connectivity is the most important part of the procedure. Without the internet, you will not able to access the default web address of the Netgear Orbi 960. So, take the Ethernet cable in your hand and put the end of the Ethernet into the router and modem’s Ethernet ports. Make sure that the Ethernet cable you use is non-damaged and inserted properly into the ports.
Synced the Orbi Satellites and Router
Once you make the connection between the router and host modem with an Ethernet cable, you need to sync the Orbi satellite and router with each other. To do this, you have to plug in the satellite to its suitable place. After that, you need to find the sync button. Once you find the sync button, press it for some time.
Switch on Computer
To do this, you need to power on the computer by plugging it into the power socket. Use a good-condition socket so that the computer gets the proper power supply. You can also use the UPS to give the power back in case of a power cut from the backend.
Moreover, you can also use the laptop if you have a laptop instead of a computer. The laptop also does the same work.
Launch Internet Browser
After turning on the computer, you need to open the web browser on it. You can use any web browser at your convenience. You just need to ensure two things. First, the web browser you are using is running on its latest version because the old version does not support the URL. Second, keep the web browser clean, if you have old files in your browser, then delete the files like cache and cookies from the browser. We recommend these two things because by doing this you will easily get access to the default web address.
Access the Default Web URL
It times to access the default Orbi web address for the further process. You need to insert the URL into the address bar instead of the search bar. Moreover, do not make the typing mistake while inserting the default web address. If you make any typing mistakes then you might face the issue.
In case you do not remember the web address or IP, you can take the help of the user manual. The user manual of the device has all the default information related to the device.
Moreover, you can also take care of these things while performing the Nighthawk AC1900 setup.
Log Into the Orbi
Now, you need to log into your Orbi system. When you access the default web address you will see the login panel of Orbi. In which you see the two fields namely username and password respectively. You need to fill in both fields and click on the Log In button.
Enable the Firmware Auto Mode
Orbi 960 dashboard will appear. From here you need to follow some outlined sub-steps:
- Go to the Menu Settings
- Select Administration > Firmware Update
- Click on Auto Firmware Update
- Save the settings
This is how you can enable the Orbi 960 firmware update on automatic mode hassle-free.