Simple Steps to Enable Netgear Router Remote Management
Are you one of those Netgear wireless router users who are looking for an article to learn how to setup the Netgear router remote management feature by accessing the my Netgear router login page? Yes? Well then, you have landed on the right post. Here, we have outlined the step-by-step instructions following which you will be able to enable this feature in a flash.
But, before we teach you how to enable this feature, you ought to know what benefits enabling it will give you. We do not want you to enable this feature just for the sake of enabling the latest feature. Continue reading.
Netgear Router Remote Management [Advantages]
Mentioned below are the topmost benefits that you will get after enabling the Netgear router remote management feature:
- You can get rid of various router-related technical issues.
- The Netgear router can easily be configured.
- Settings of the router can be accessed from anywhere.
For your information, enabling the Netgear router remote management feature can incite hacks to breach your WiFi network security. This means that you need to keep it turned off when you are not using it.
How to Enable Netgear Remote Management Feature?
Walk through the below-mentioned guidelines and learn how you can enable the Netgear router remote management feature in the blink of an eye:
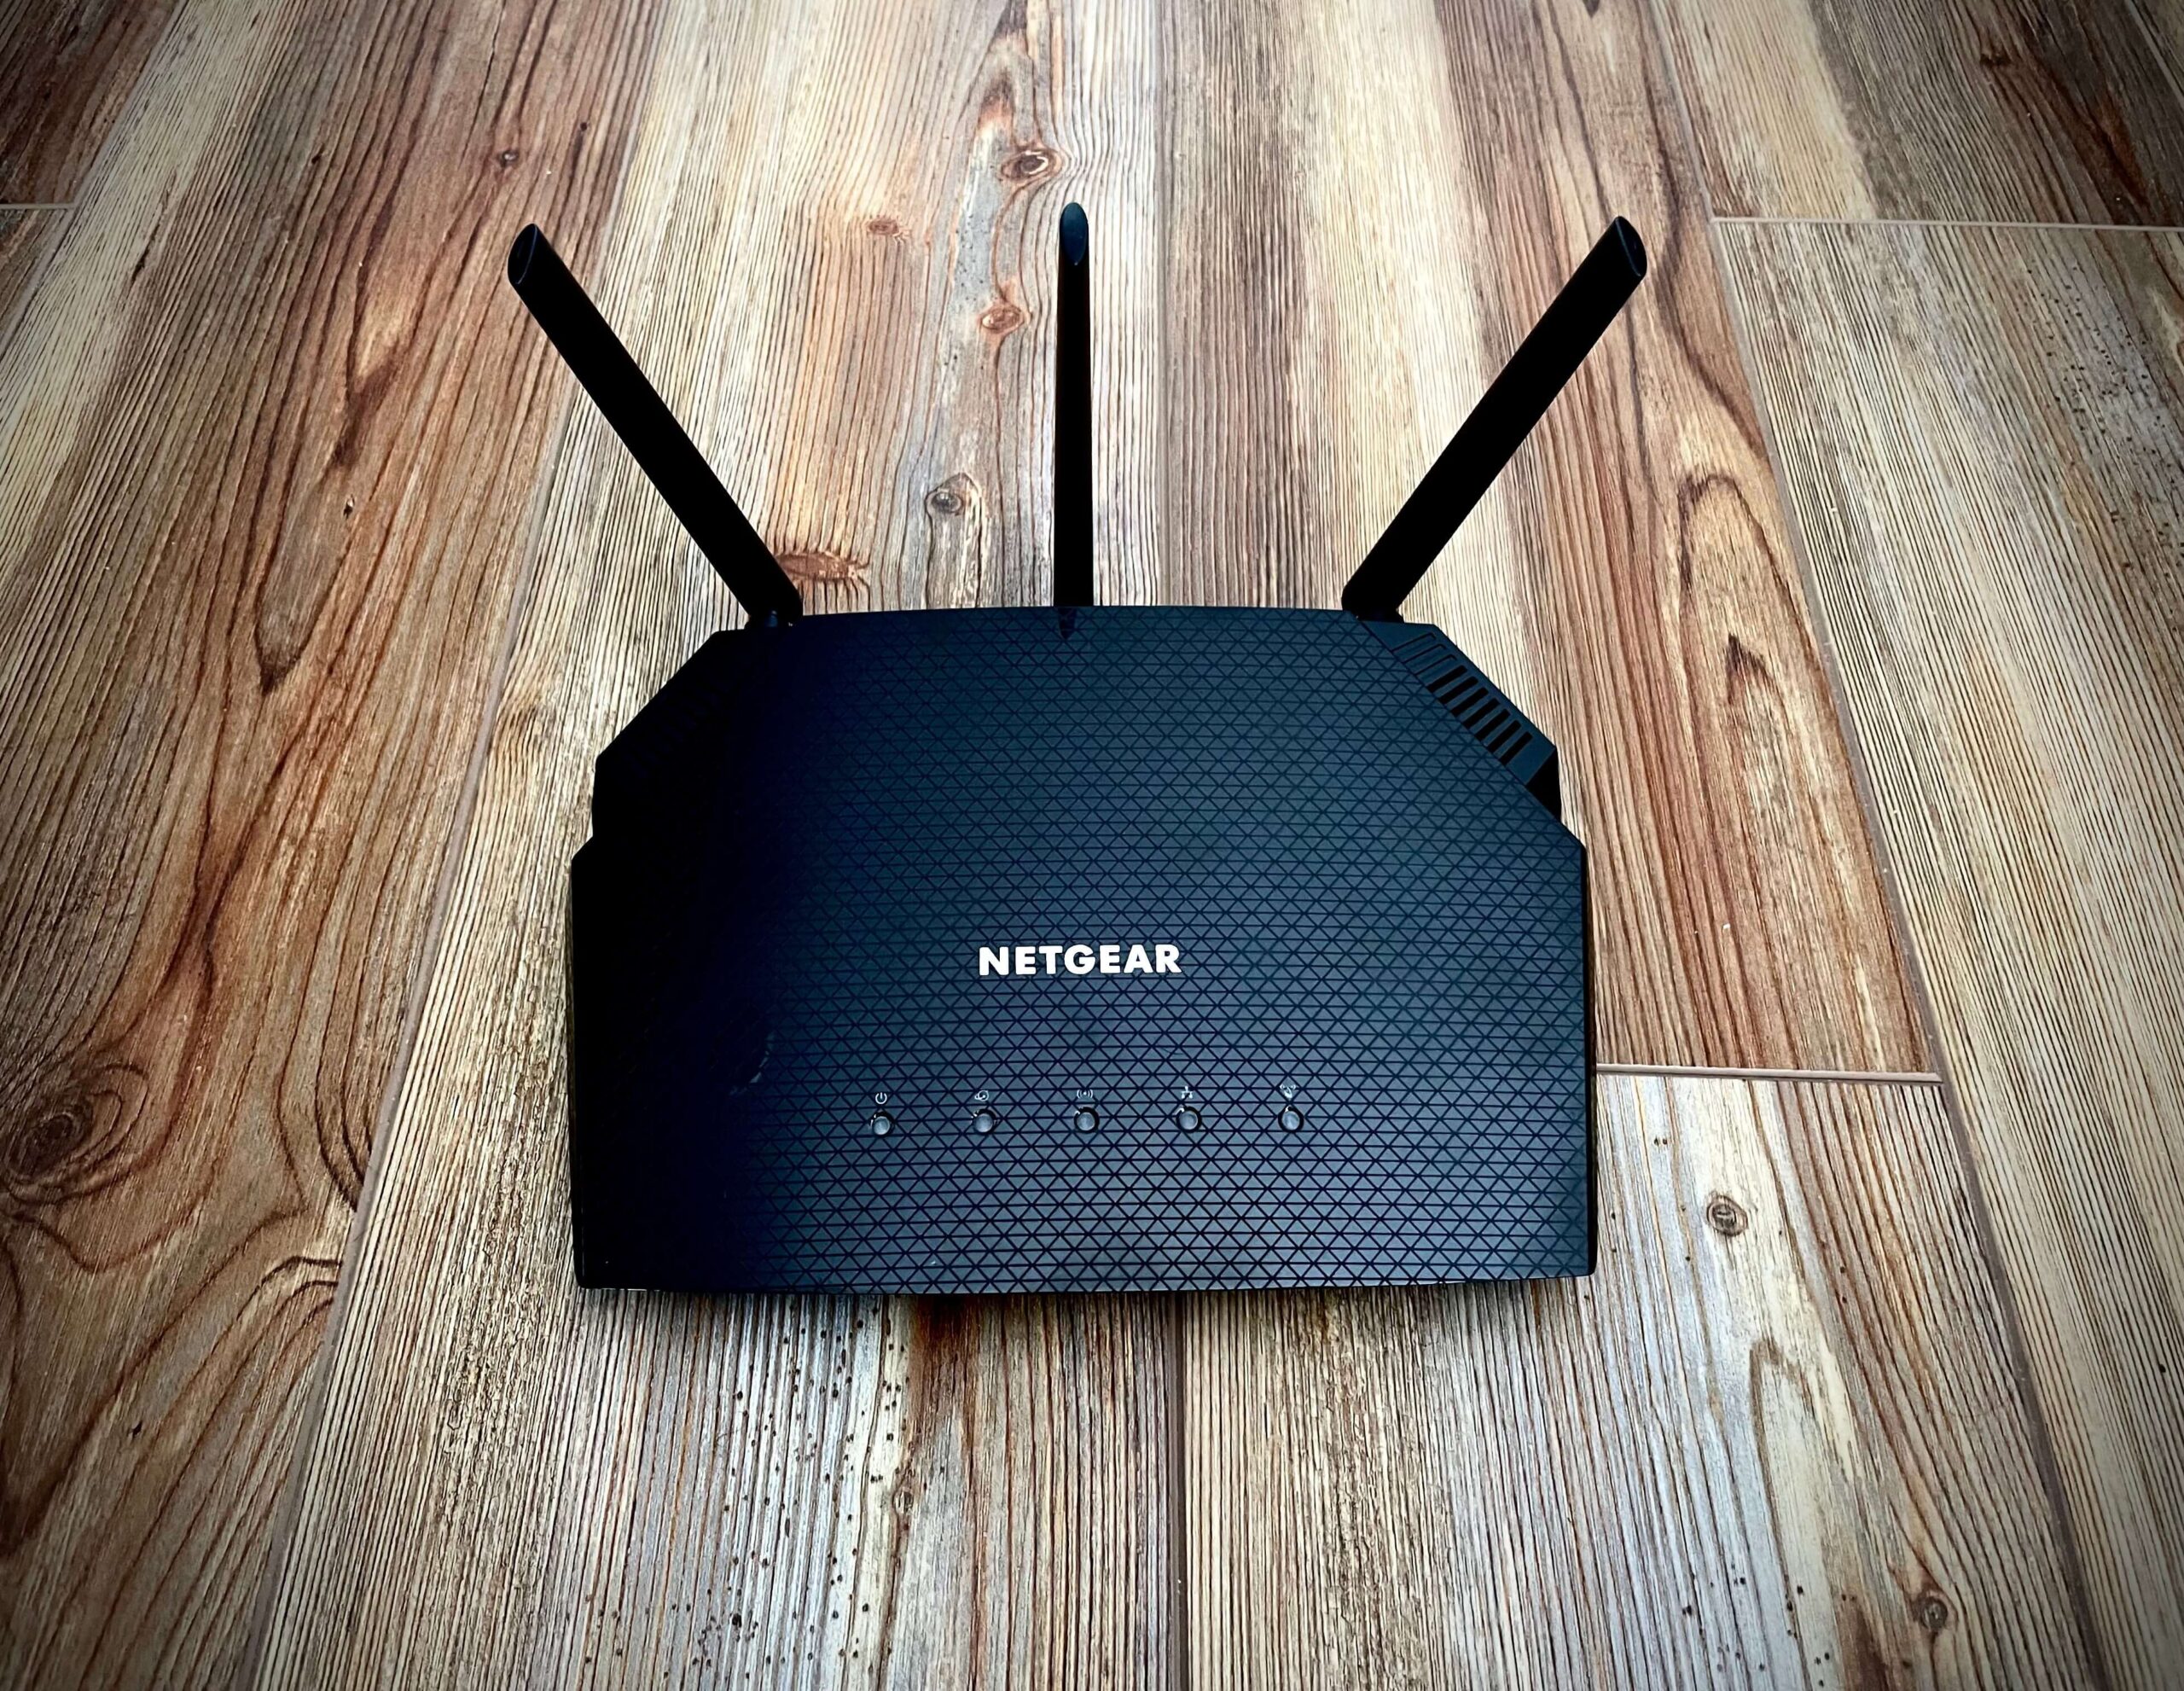
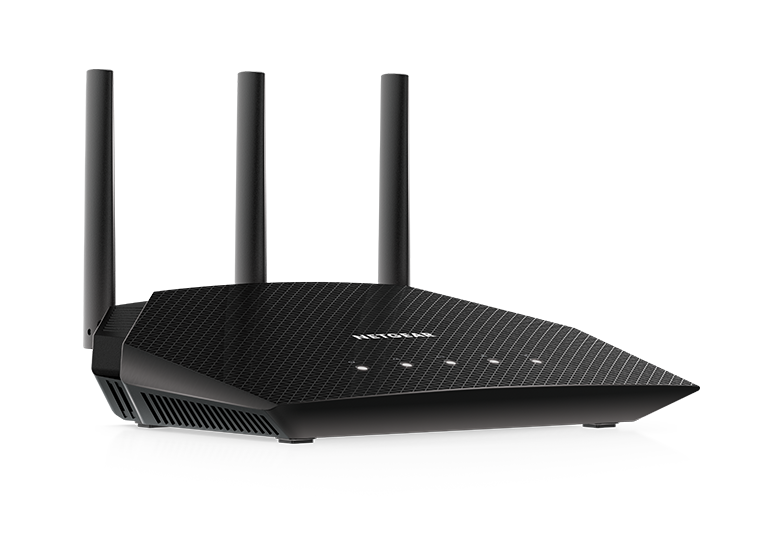
- Plug your Netgear wireless router into a wall socket.
- Press the power button.
- Before you even know it, the Netgear router LED light will become solid.
- Connect the Netgear router to the existing modem.
- You can do so either via wired or wireless medium.
- Switch on your computer.
- Gain access to an internet browser.
- In the URL field, enter the routerlogin.net web address.
- Press the Enter key.
Check Also: Routerlogin.net is not working?
In case you come across the routerlogin.net not working issue, it is recommended that you use the IP address to log in to your Netgear router.
- The Netgear router login page will pop up.
- You will see two fields on the login window.
- Enter the username and password under their respective fields.
While entering the login credentials of your Netgear router, if you get pinched with uncertainty, then consider referring to the user manual to be sure.
- Click on the Log In button.
- Soon the Netgear router setup wizard will appear.
- Access the Settings menu and go to the Advanced option.
- Click on the Remote Management button.
- Turn on Netgear Router Remote Management feature by selecting it.
- You need to decide on offering access to just one system.
- In case you want the computer to have access, click on the Computer option.
- In the next step, you will be asked to enter the IP of the computer.
For your information, without providing the IP of your device, you will not be able to proceed with the process of enabling the Netgear remote management feature.
- Thus do as required and wait for some time.
- Select the IP Address Range option.
- You need to type the starting and ending point of the range.
- Now, leave a port number when asked.
- Click on the Apply option.
- Wait for a while.
In the blink of an eye, you will be able to complete enabling the Netgear router remote management feature on your wireless device. Now, you are free to manage or control your networking device from any corner of the world.
At Last
Here ends our article written on how the Netgear router remote management feature can be enabled. Wasn’t the process easy to execute? We hope so. If we are not being deprived of our hopes, then it is recommended that you share your feedback with your fellow readers via the comment section.