Set Up Wavlink WiFi Extender: A Step-by-Step Guide
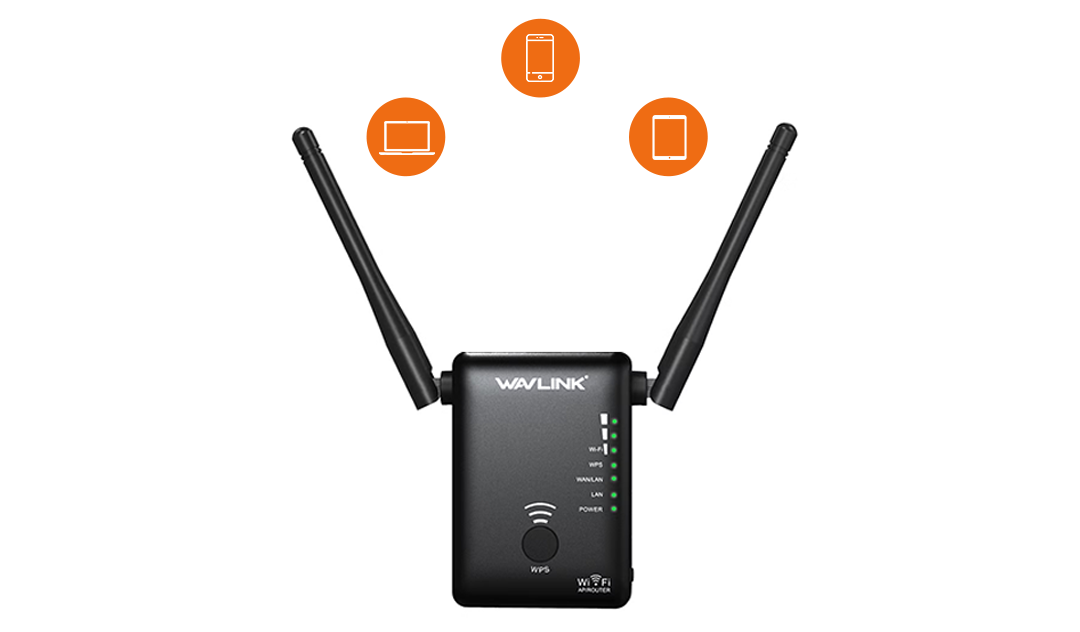
If you want to extend your existing WiFi range in every nook and cranny of your house in order to enjoy uninterrupted video streaming, online gaming, shopping, and a lot more, then you ought to set up Wavlink WiFi extender. Setting up the Wavlink device will extend the range of your existing WiFi network up to 5000 square feet. It means you can easily gain access to strong and blazing-fast WiFi signals from the backyard to the courtyard.
Now, you might be wondering how to perform Wavlink WiFi extender setup? Wonder no more because you have opened the right page. In this tutorial, we have talked about how to configure a Wavlink extender. Thus, continue reading this article!
Prerequisites Before Wavlink Setup
Here are the things that you must keep handy prior to getting down to the configuration process of Wavlink extender setup:
-
An already configured router
-
A working power outlet to plug into Wavlink extender
-
An Ethernet cable to connect your host router and the Wavlink device
-
Wavlink extender user manual to get Wavlink WiFi extender login credentials
-
An extension cord to plug in your router and Wavlink extender in close proximity
On the off chance, you have two working wall sockets closer for plugging in your devices, then skip making use of the extension cord.
That’s all! Now, follow the step-by-step instructions outlined in the next section and get to know how to set up Wavlink WiFi extender with ease.
Set Up Wavlink WiFi Extender via WPS
Before you use the WPS method to do Wavlink extender setup, make sure that your host router has the WPS function.
Step 1: Plug your Wavlink WiFi extender into a working electrical socket.
Step 2: Press the Wavlink extender’s power button and turn it on.
Step 3: Locate the WPS button on your Wavlink device.
Step 4: Once found, press it and apply the same process on your host router.
Kudos! The Wavlink extender setup process is successfully done via the WPS method.
If your host router doesn’t have the WPS button on it, try to configure your Wavlink extender using the manual method.
Set Up Wavlink WiFi Extender Manually
Step 1: Plug in your host router and Wavlink WiFi extender closer using an extension cord. Or, you can skip this step if you have two working wall plugs located near each other. And, to prevent any sort of issues, make sure that the wall plug is non-damaged and provides steady power to your devices.
Step 2: Turn on your Wavlink device and the host router. Once you are done turning on your devices, connect them firmly and in a proper way using an Ethernet cable.
Step 3: Switch on a laptop or desktop. Before putting the device in use, ensure to update its software to the latest version. What? Your device’s software is already up-to-date? If yes, then in that case, you can skip this step.
Step 4: Load up an up-to-date web browser.
Step 5: In the address bar field, enter http://wifi.wavlink.com or http://192.168.10.1.
To prevent http://wifi.wavlink.com or http://192.168.10.1 not working issues:
-
Ensure that the web browser you have opened is up-to-date
-
You have not entered the Wavlink extender’s default web address or the IP in the search bar or used the private window for the same
-
Clear browsing history as well from the internet browser
Step 6: Press the Enter key.
You Are All Done!
The Wavlink WiFi extender login window will come into view. Enter the login details of your Wavlink device and click on Log In. Thereafter, on the dashboard of your Wavlink device, you will get some instructions to set up your WiFi range extender. You need to follow them in order to rack up success with Wavlink extender setup process.
The Last Words
Now, we are going to conclude this article. We hope that the step-by-step instruction mentioned here was able to help you to set up Wavlink WiFi extender. Let’s hope for the best that you won’t get stuck at any step.